Thursday, 5 March 2015

DIY Book Charging Station.


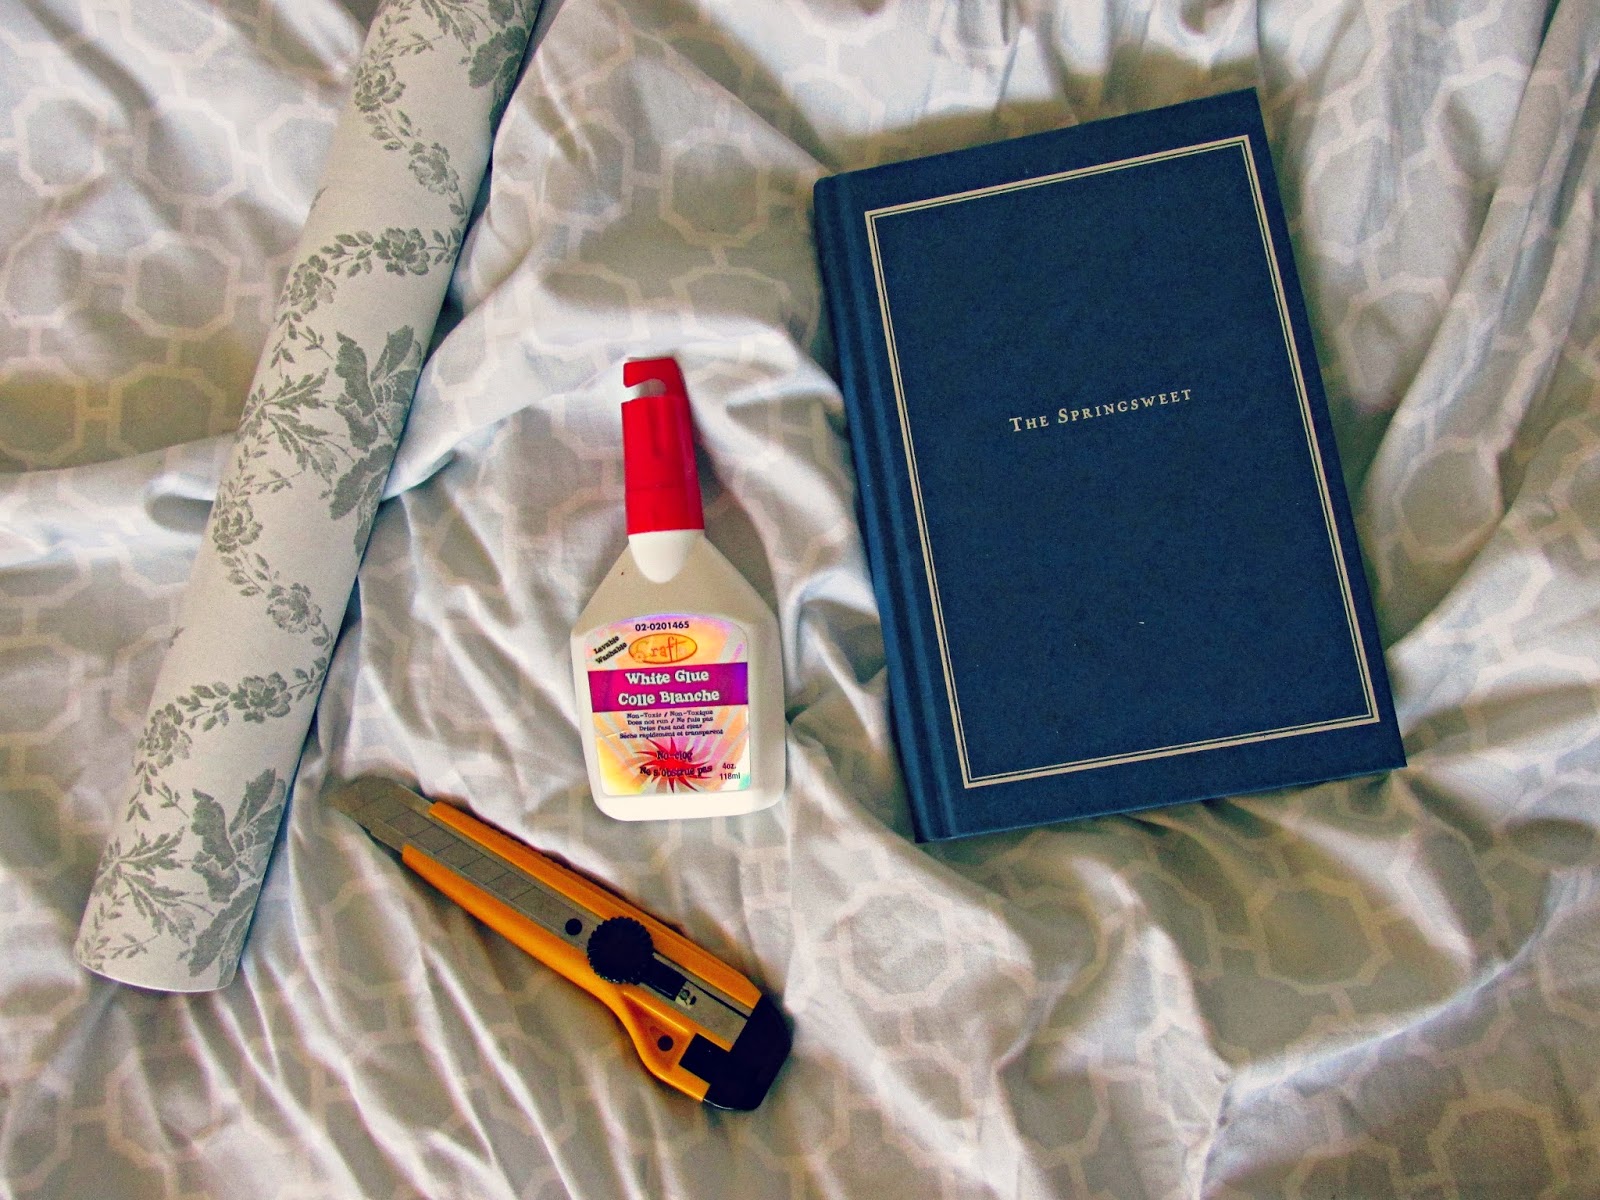
Supplies:
Cheap Book
Self Adhesive Roll
Glue
Knife


Measure and draw out the space you would like to cut out.


Begin cutting a few layers at a time.


Cut a small space for the charger, i didn't make mine quite as deep as the large hole.


Paint glue around the outside of the pages, gluing them all together, make sure you don't glue the covers!


Put something heavy to push the pages together ( this horribly, wonderful game works well)


Once its dried it should be hard and all the pages should stay together.


Measure and cut how much of the decorative roll you will need.


Begin folding it over and rubbing it down onto the book.


Cut pieces so they will cleanly wrap around the book. Glue down the back cover down.


And BAM look at that. a cute way to hide your phone while charging on your nightstand or in a book shelf. Might end up cutting the hole bigger to hide bigger items in a book shelf. Got both the book and the adhesive roll at the dollar store so this is so cheap and easy! Love cute projects like this.

~ Liv 


Thursday, 26 February 2015

Mason Jar Uses:

Honestly can be used for everything. Even dirty paint water.
Use hot water to take the last little bit of the candle out of the container.


Looks better then the boxes and bags laying all over your counter.

To hold makeup brushes.


As easy as that.

I also love to drink tea out of mason jars..
Check out more ways to re-use mason jars on my Pinterest Page.

Well if your anything like me, you are always buying too many Bath & Body Works candles. I love the small mason jar ones, but i never want to throw out the cute jars when they are all burned out. So I've started cleaning them out and using them for different things. These smaller ones are great for the bathroom. They look especially cute when you have different size ones with them as well.

-Liv

Thursday, 19 February 2015

DIY :Triangle Canvas Design


* Inspired by LaurDIY.com


Supplies:
Magazines
Glue
Scissors
Canvas


Start by cutting one corner off, whichever size you wish it to be.


Use that piece as a template to keep all other pieces the same size. 


Find different colours, and unique designs 


Create a large pile of pieces so you have many to choose from.


Place the pieces as you wish onto the canvas, making sure the pieces you put beside each other are very different. To add contrast.


Place all your pieces out as you wish.


Then begin gluing and sticking them onto the canvas.


  And there you go, a super easy and fast decoration that looks good just about anywhere. I like it because it can go in any room with any colour theme. If you wanted you could only put certain colours in it to make it a theme but i like the unique colours and contrast within it.

Going to try and post more, things have been a little crazy with school, but i have some fun things planned! 

- Liv 


Sunday, 18 January 2015

DIY: Framed To Do List


Finished Product


Supplies:
- Magazines
- Frame
-White Board Marker


Search through the magazines and find images that would work for a background of your to do list. Stay away from anything too dark, the marker won't show up.


Pick your image and place inside the frame.


Draw your to do's or your grocery list or whatever your heart desires.


 Put up near your desk or somewhere you will see it often, and there you go. A cute way to keep your life organized and keep all those papers with lists off your desk. Super easy and fast, and you can change the background as much as you want! Schools starting to get busier so these fast DIY's are all i can fit into my schedule.

P.S. Super excited that the light in my dorm room is so good for taking pictures!!
- Liv

Sunday, 11 January 2015

DIY: Easy, No Sew Pillow


Finished Pillow


Supplies:
TOMS Bag
Fabric Tape
Iron
Stuffing


Fill the TOMS bag with as much stuffing as you wish.


Measure the amount of tape you will need to close the bag.


Pin the tape in-between the two sides of the bag. ^


Pin it completely closed, with the tape in the middle.


Iron over the edge of the bag, taking the pins out as you go.


So finally figured out what to do with all the TOM's bags i had laying around my house, makes a super cute pillow! It's so easy to make pillows using the fabric tape, takes only a few minutes to pin and iron shut. Awesome for someone who doesn't know how to sew and it also makes your room look super Tumblr! lol

Hope your new year has been great so far, finally back at school so i won't be able to post as much with school work, but I'll do my best.
-Liv

Thursday, 1 January 2015

DIY Twig Candle


Finished Product


Supplies:
- Twigs
- Container
- Scissors
- Hot Glue & Gun
- Spray Paint
- Glitter Spray 
- Paper  Towel to protect surface while spraying


Measure the twig to make sure it is slightly above the glass, I made mine several different sizes, so it gives a more natural look.


Lay out the twigs and spray with the spray paint and the glitter spray. Allow to dry and spray the other side.


Add glue to the twigs.


Firmly place the twigs around the side of the container.


Add a tea light inside and put on display.


 Okay, so i might be slightly obsessed with candles and gold glitter, but really who isn't? Hope everyone had a great holiday with your family and friends. Only have a week left until i go back to school, excited to get back to the city but I have been enjoying my time with family and friends.
Happy New Year!

-Liv