Tuesday 31 March 2015

Ripped Pants || Graffiti Alley


Cheap Jeans/Pants
Chalk
Scissors
Tweezers


Put on the pants and draw with chalk where you would like the knee rips to be placed.


Take them off and cut the hole where you drew. Make sure to only cut threw the one layer of pants.


Just start grabbing and pulling threads to give it a messy look.


Should look like this when it's done.


Put them through the wash and the dryer, and there you go, beautiful holes in your pants.


So my brother came and hung out with me in the "big city" so of course we took the chance to explore the city and also take a few pictures of the newly ripped jeans, although it may be hard to see. The pictures turned out pretty cool in Graffiti Alley...
Thought this would a good idea to show how to rip jeans, the easiest way. And i was going to do it anyways so might as well share. Thanks for reading! :*

P.S. Check out my new boots.... IN LOVE.


                                     Until next time,


Friday 27 March 2015

Brick Wall, Water Fall.


In honour of going to WMCFW tonight I thought this post would be fitting.  Zoe convinced me to try out this "style" blog thing. And i actually had a lot of fun! Although our fingers were freezing, we had such a good time shooting these. Make sure you check her out. So lucky to have such a cool chick to hangout with at school and to inspire me!

Today was just a hangout do homework and go to class kind of day so boyfriend jeans were a must. Also so excited to be able to wear this coat and it actually keep me warm (YAY SPRING), it is for sure going to be my go to coat for spring. Simple blazer and booties make the look a little less casual. I enjoyed this so much I think this may become a new thing. The pages at the top will allow you to sort the posts into DIY and Style, that way if you only want to see one or another you can! :) 
Leave a comment if your into this style thing... hopefully more to come!


Coat: Forever 21
Jeans: Urban Outfitters
Booties: Mossimo (Target)
Blazer & Hat: Jessica (Sears)
Purse: Kate Spade
Necklace: Forever21
Rings: H&M
Watch: Michael Kors


                                    See you soon,


Tuesday 24 March 2015

DIY: Watercolour Phone Case

* Idea from Laurdiy.com


Paint colours of choice
Straw
Clear phone case ($9.99 on Amazon)


Mix paint with water so  its easier to move around.


Start by making puddles on the edges on the case and blow it towards the middle.


Continue adding paint and blowing it around with the straw.


Once you have enough of the one colour, add the other colours.


Make sure to mix the colours at together where they meet to make a more watercolour look.


Touch up any areas with the paint brush and add more splatters if you feel you need too.


Let it dry for a good hour before putting it on your phone.


Okay so I'm actually obsessed with this. Might try doing some more, it was so fun and cheap! Thinking it would be cool to do to my mac case as well... Anyways hope you enjoyed this, it was so easy and tbh i just can't stop looking at it, it's just so cute. lol


                      Anyways until next time,


Tuesday 17 March 2015

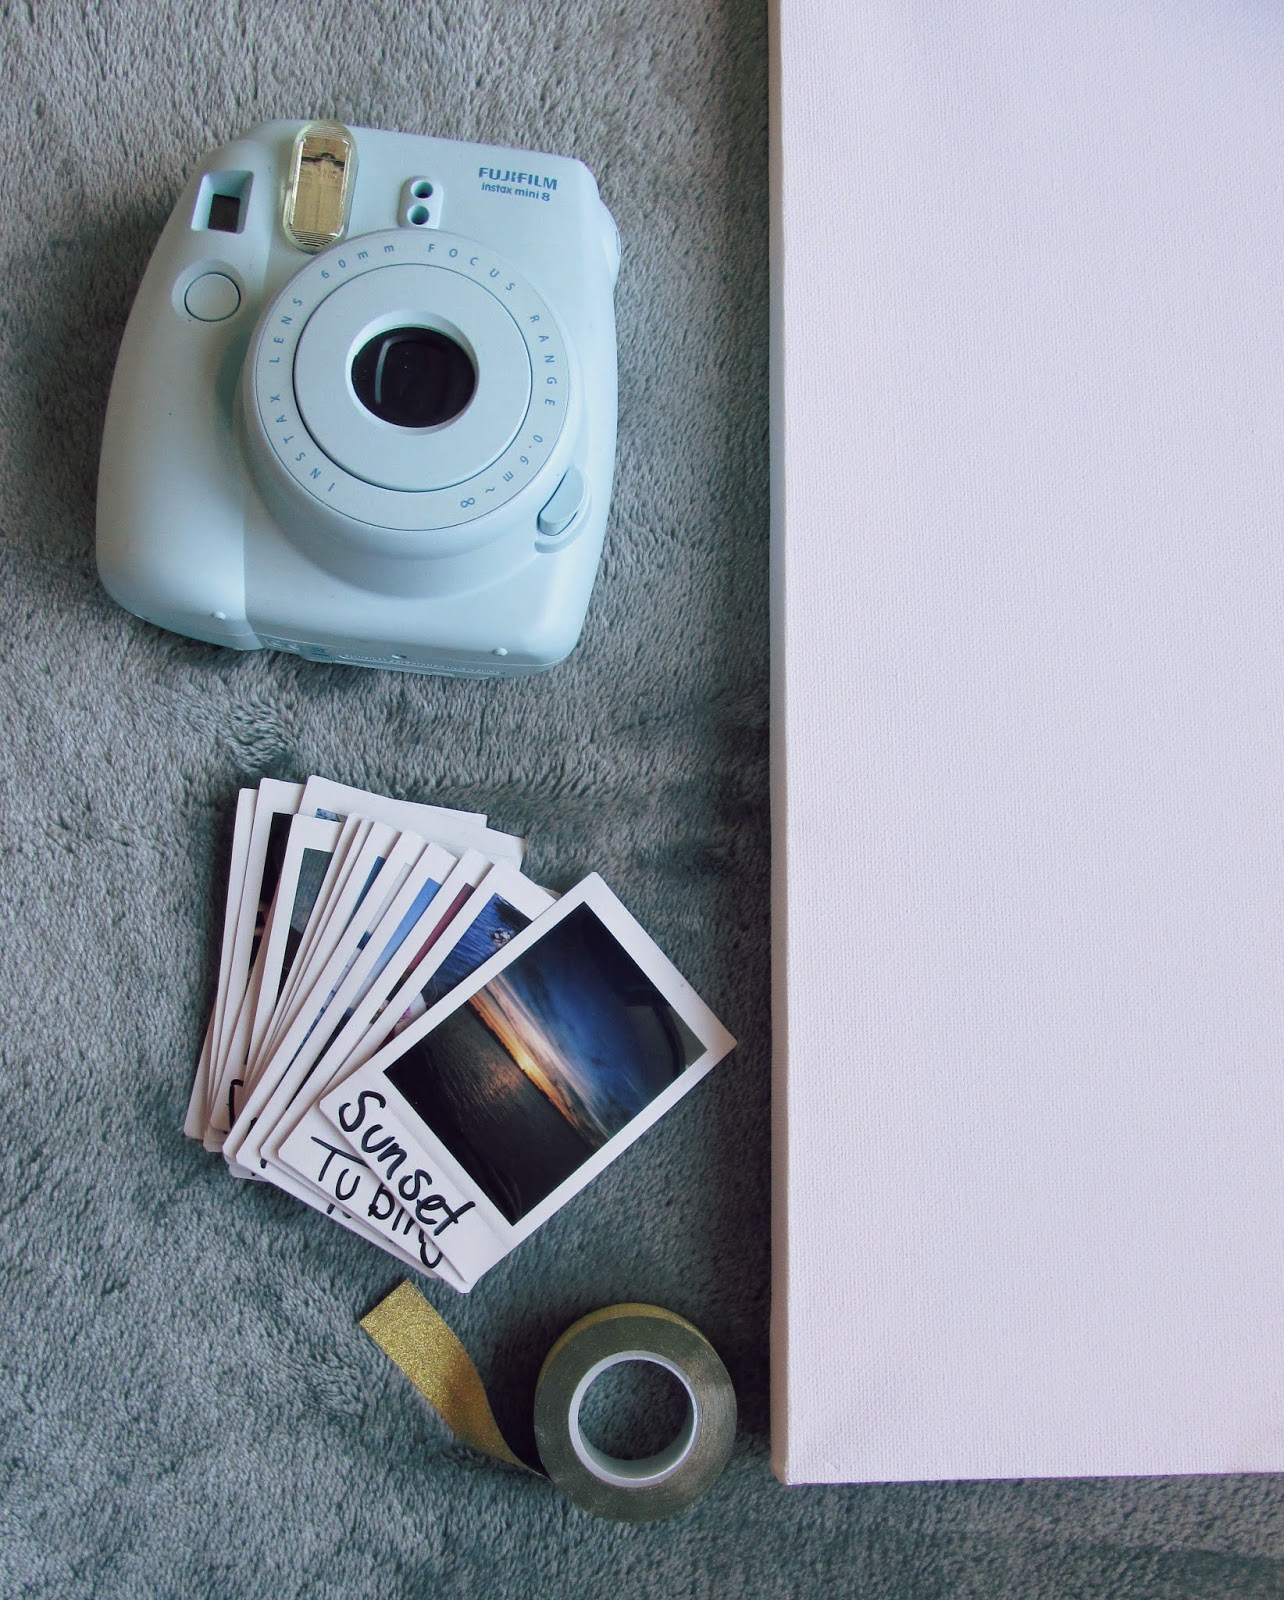
DIY : Polaroid Display

*Inspired by LaurDIY.com

Supplies:
- Canvas
- Polaroids
-Tape


Layout your pictures as you desire. I just lined them up in three rows.


Tape down each photo at the top and boom. 


Such an easy way to display photos, I love it! especially because once you get bored of it you can switch new photos in, add a different tape or even change the background. Schools getting crazy busy but I'm trying to keep up with the blog posts! 
Thanks for reading,
- Liv


Thursday 5 March 2015

DIY Book Charging Station.


Supplies:
Cheap Book
Self Adhesive Roll
Glue
Knife


Measure and draw out the space you would like to cut out.


Begin cutting a few layers at a time.


Cut a small space for the charger, i didn't make mine quite as deep as the large hole.


Paint glue around the outside of the pages, gluing them all together, make sure you don't glue the covers!


Put something heavy to push the pages together ( this horribly, wonderful game works well)


Once its dried it should be hard and all the pages should stay together.


Measure and cut how much of the decorative roll you will need.


Begin folding it over and rubbing it down onto the book.


Cut pieces so they will cleanly wrap around the book. Glue down the back cover down.


And BAM look at that. a cute way to hide your phone while charging on your nightstand or in a book shelf. Might end up cutting the hole bigger to hide bigger items in a book shelf. Got both the book and the adhesive roll at the dollar store so this is so cheap and easy! Love cute projects like this.

~ Liv